Ledger.com/Start: Your Ultimate Guide to Setting Up Your Ledger WalletYou Text Here
Introduction
In the world of cryptocurrencies, security is paramount. With increasing cyber threats, hardware wallets like Ledger provide the safest way to store your digital assets. If you’ve recently purchased a Ledger Nano S, Nano S Plus, or Nano X, the first step is setting it up correctly via Ledger.com/Start.
This comprehensive 2500-word guide will walk you through:
The importance of using a Ledger hardware wallet
Step-by-step setup via Ledger.com/Start
Security best practices
Troubleshooting common issues
Advanced tips for maximizing your Ledger experience
Why Choose a Ledger Hardware Wallet?
1. Unmatched Security
Unlike software wallets, Ledger devices store private keys offline, making them immune to remote hacking attempts.
2. Multi-Currency Support
Ledger supports 5,500+ cryptocurrencies, including Bitcoin (BTC), Ethereum (ETH), Solana (SOL), and many ERC-20 tokens.
3. User-Friendly Interface
With Ledger Live, managing your assets is seamless—whether you’re sending, receiving, or staking crypto.
4. Tamper-Proof Design
Every Ledger device comes with a secure element chip (certified by ANSSI), ensuring your keys never leave the device.
Step-by-Step Guide to Setting Up Your Ledger Device via Ledger.com/Start
Step 1: Unboxing & Initial Checks
Ensure your Ledger device is sealed (tamper-proof sticker intact).
Components included:
Ledger Nano S/X
USB cable
Recovery sheet
Keychain strap (for Nano X)
Step 2: Connect to Ledger.com/Start
Visit Ledger.com/Start on your computer or smartphone.
Select your device model (Nano S, Nano S Plus, or Nano X).
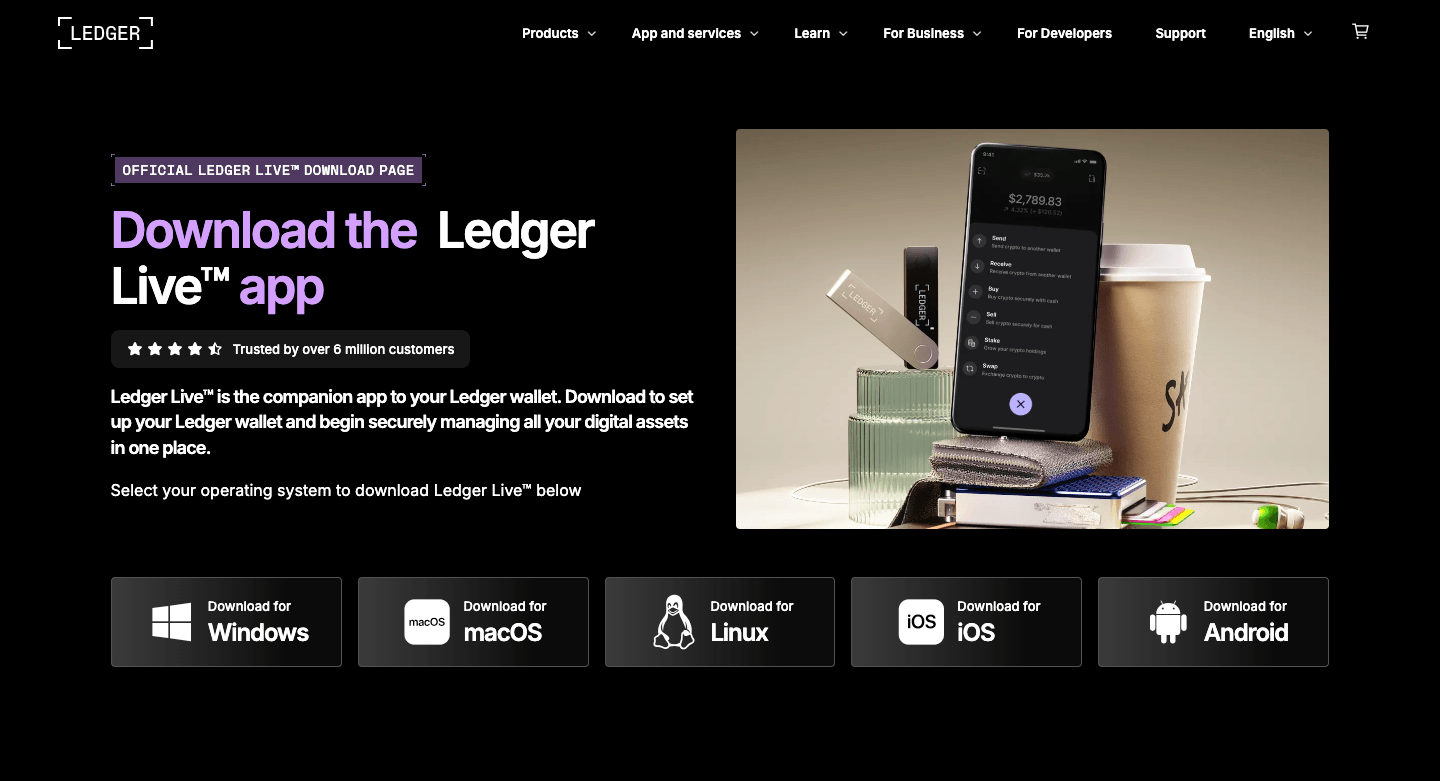
Step 3: Install Ledger Live
Download Ledger Live (the official companion app) for:
Windows/macOS/Linux
iOS/Android (for mobile users)
Step 4: Initialize Your Device
Power on your Ledger and follow on-screen prompts.
Choose a PIN code (4-8 digits). Never share this PIN!
Write down your 24-word recovery phrase (on the provided sheet). Never store it digitally!
Step 5: Install Apps & Add Accounts
Open Ledger Live and connect your device.
Install apps for your preferred cryptocurrencies (e.g., Bitcoin, Ethereum).
Generate wallet addresses for each asset.
Step 6: Transfer Crypto to Your Ledger
Copy your Ledger wallet address from Ledger Live.
Send a small test transaction first to confirm everything works.
Security Best Practices for Ledger Users
1. Never Share Your Recovery Phrase
No legitimate service will ask for your 24-word backup.
Store it in a fireproof & waterproof safe.
2. Enable Passphrase (Advanced Security)
Adds an extra layer of security (25th word).
Protects against physical theft.
3. Verify Transactions on the Device
Always double-check addresses on your Ledger screen before confirming.
4. Beware of Phishing Scams
Only download Ledger Live from Ledger.com.
Avoid fake support emails pretending to be Ledger.
Troubleshooting Common Issues
1. Device Not Detected
Try a different USB cable/port.
Restart Ledger Live.
2. Forgotten PIN
Reset the device and restore using your 24-word phrase.
3. Firmware Update Errors
Ensure Ledger Live is updated.
Follow Ledger’s official guide.
Advanced Tips for Power Users
1. Use Ledger with MetaMask & DeFi
Connect Ledger to MetaMask for secure Web3 transactions.
2. Stake Crypto Directly from Ledger
Stake ETH, SOL, DOT, and more via Ledger Live.
3. Explore Ledger’s Enterprise Solutions
Ledger Enterprise offers institutional-grade custody.
Final Thoughts
Setting up your Ledger via Ledger.com/Start is the first step toward bulletproof crypto security. By following this guide, you ensure your digital assets remain safe from hackers, scams, and accidental loss.
For further assistance, visit:
Ledger Academy (Educational Resources)
🚀 Stay secure, and happy HODLing! 🚀